This article was updated on 24 August 2023
Buying a solar panels from a company can cost a ton of money that most people just don’t have. If you are on a budget but want to go solar, you will find that building your own system isn’t all that difficult.
There are quite a few steps that you must follow, but it’s well worth the time and effort. This article will help you with figuring out how to make a solar panel in an easy-to-follow way that anyone can understand.
Tools and Materials Required
There will be a number of tools and materials that you will need to make your own solar power system at home, including:
- Pencil
- Silicon
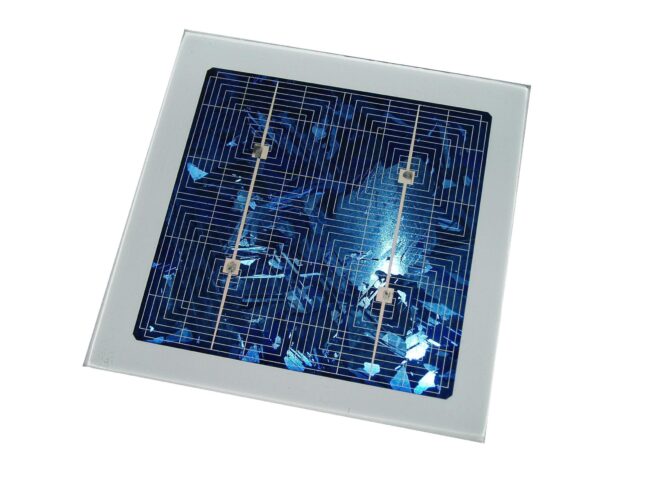
- Solar cells
- Soldering iron
- Flux
- Plywood board
- Drill
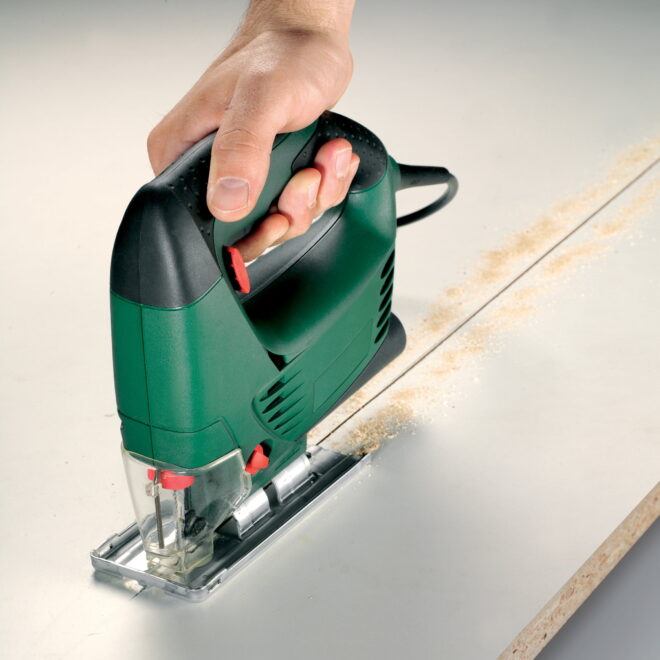
- Saw
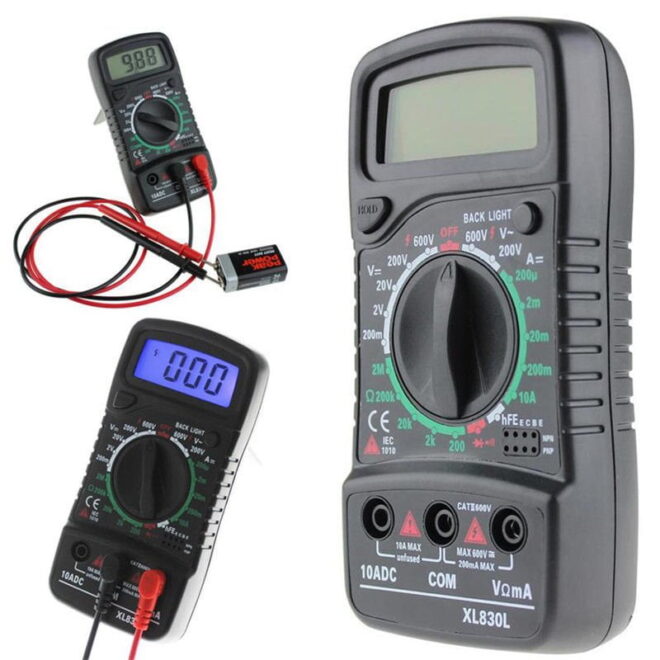
- Multimeter
- Tape measure
- Plexiglass
- Framing square
There are quite a few Chinese and Japanese brand solar cells that work well but don’t cost a ton of money. This is by far the biggest expense you will have in this project, so it’s crucial that you shop around a bit.
Once you have a panel producing 12 volts, it’s pretty easy to hook that to a car USB charger using a cigarette lighter socket (easy to find at car parts store or Walmart), which has all of the power electronics, and costs $5 US.
Related: The Best Solar Products in 2023
Size of the Solar Panel
Not everyone has the room for a solar panel on their home because of how large they have to be to work properly.
You can expect the panel you build to be around 285 square feet or 26 meters. It is important that you figure out whether or not you will be able to fit this on your roof before moving forward with the building process.
Putting the Frame Together
When you are ready to get started, you will need to begin working on putting the frame together. You can use normal plywood for the frame and some cardboard to put your solar cells on.
Your plywood should measure about 1x2x8, and it needs to be cut in a way that fits the outer frame perfectly. The outer frame shouldn’t be too high, as you don’t want to lose any potential sunlight.
Put the plywood pieces you have cut out on the 2×4 plywood, screwing them down and sanding the frame. Once you have sanded the frame, put the deck and siding paint on it. It’s a good idea to put two coats on, as it will be constantly exposed to the harsh UV rays of the sun.
Solar Cell Assembly
When you are assembling your solar cells, you will need to keep in mind that the bottom is the positive side and the top is the negative side.
You will need around 35 solar cells in total in order for this system to work effectively. Tabbing wire is the way to go with a DIY solar power system, and you will need to use your soldering iron to connect all of the solar cells. You should have a minimum of three lines of solar cells.
Bus wire can be used to connect each string of cells so they do not move around. You will place the wire at the end of each string to bring them all together.
Making Holes for the Connections
When you have applied two coats of paint to the plywood and board, you will need to screw the board into the plywood frame.
Make certain that the solar cells are already in the frame so you know exactly where each screw is going to go. Once you have made each of your marks to indicate where the screws will go, you can take the solar cells out.
Drill two holes at the end of the plywood frame so that the positive and negative connections have somewhere to go out.
Applying the Solar Cells
T
Once you have gone this, you should solder the bus wire to one of the ends so you can connect the solar cell strings.
You should make a point of checking the voltage/current when going through this step so that you know everything is working properly at least in theory.
Connect The Electrical Components
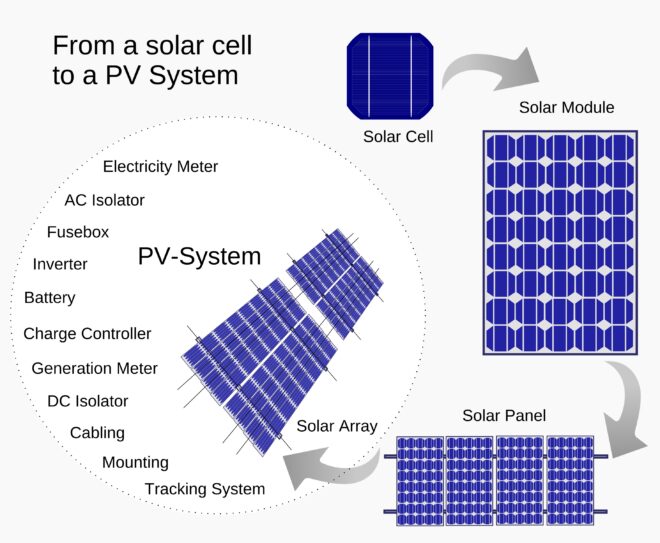
There are a few electrical components that you will need to build your own solar panels, including a deep cycle battery, inverter and charge controller.
It shouldn’t take you very long to hook up all of these things together. The solar panel connections should be going to the solar side and battery connection part of the charge controller. You will want your deep cycle battery to go to the charge controller.
Apple Pressure to Plexiglass
Next you will need to apply a decent amount of pressure to the plexiglass at the edges so that everything is firmly in place. Take some plywood and mount it on the plexiglass with even pressure. You will also need to drill into the plexiglass very carefully so that it doesn’t crack.
Install the Junction Box
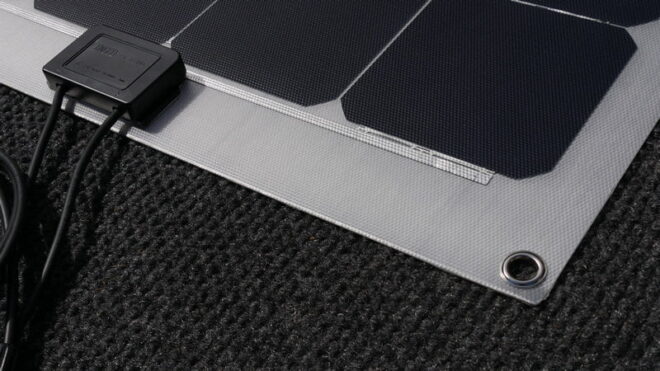
A vast majority of solar panel systems have junction boxes, so you should at least think about installing one on yours. Look for a box that has a blocking diode so that back flow of current won’t become a problem at any point in the future.
Final Thoughts
Constructing your own solar panel system can be an excellent way to save money while still getting what you need to power your home in an Eco-friendly way.
A lot of people are making the switch to this renewable form of energy, and it can save you a lot of money in your utility bills over time.
If you want to learn more about how to build a solar panel, and put it together. Check out these helpful videos tutorial made by Robert Smith that will teach you everything you need to know about solar energy and how to make a solar panel by yourself.

